We have a long way to go
and a short time to get there...
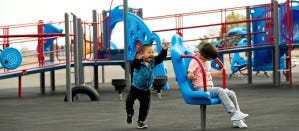
This is part two of our three-part series on how to build a playground. (Read part one here) It answers two of the most frequently-asked questions we receive:
- How do I prepare a site for a playground build?
- What tools do I need to build a playground?
Read on and (at least two of) your most pressing questions will be answered!
We’ve put together some tips to help you be prepared and execute your build plan (you have one, right?!) There’s nothing sadder than playground equipment with nowhere to go! As we mentioned in our last blog, you’ll have about 21-45 days between the day you place the order and the day the equipment will show up on site. So during this time, you’ll need to go check site prep off your list!
Site prep is your responsibility regardless of the level of installation you choose. So what exactly is a prepared site? Check with your playground vendor to make sure you’ve covered all your bases for preparation prior to the build day. Here are some site prep items you’ll need to complete:
- The site must be free of debris, old equipment, and surfacing.
- The sub-grade must be relatively flat.
- You’ll need to choose the direction in which the playground will be laid out
- You’ll also need to ensure that any utilities that run underground are marked and are not a hazard for the playground installers.
- There must be a finish grade mark on site. In order to install the equipment, your vendor will need to know what the finish grade of the site is going to be. Be sure to discuss this in advance with them if you have any questions!
- If you choose to dig your holes prior to build day, you will save a lot of time on the morning of the build and it will go much smoother. Be sure to talk to your vendor or supervisor about options for this.
- If you have volunteers installing the surfacing, talk to your vendor in advance to make sure the equipment comes with surfacing markers. Surface markers are stickers placed on the support upright posts of the playground stickers to show the level that the surfacing material must be installed in order to meet standards to appropriately cushion falls from the equipment. This will be a big help for your volunteers.
Gathering tools and equipment is a job within itself! Develop a plan to make sure you have all your tools and equipment available on build day. You don’t want to waste valuable time on build day scrambling for tools. We’ve compiled a general list for you, but check with your playground vendor for a complete list of the tools and equipment necessary for installation. Make sure to ask them for quantities and sizes! Also, since most of your tools will be donated or borrowed, it is important that you keep track of them. Make sure tools are labeled and set up a station where tools can be checked out and in. This will cut down on missing tools.
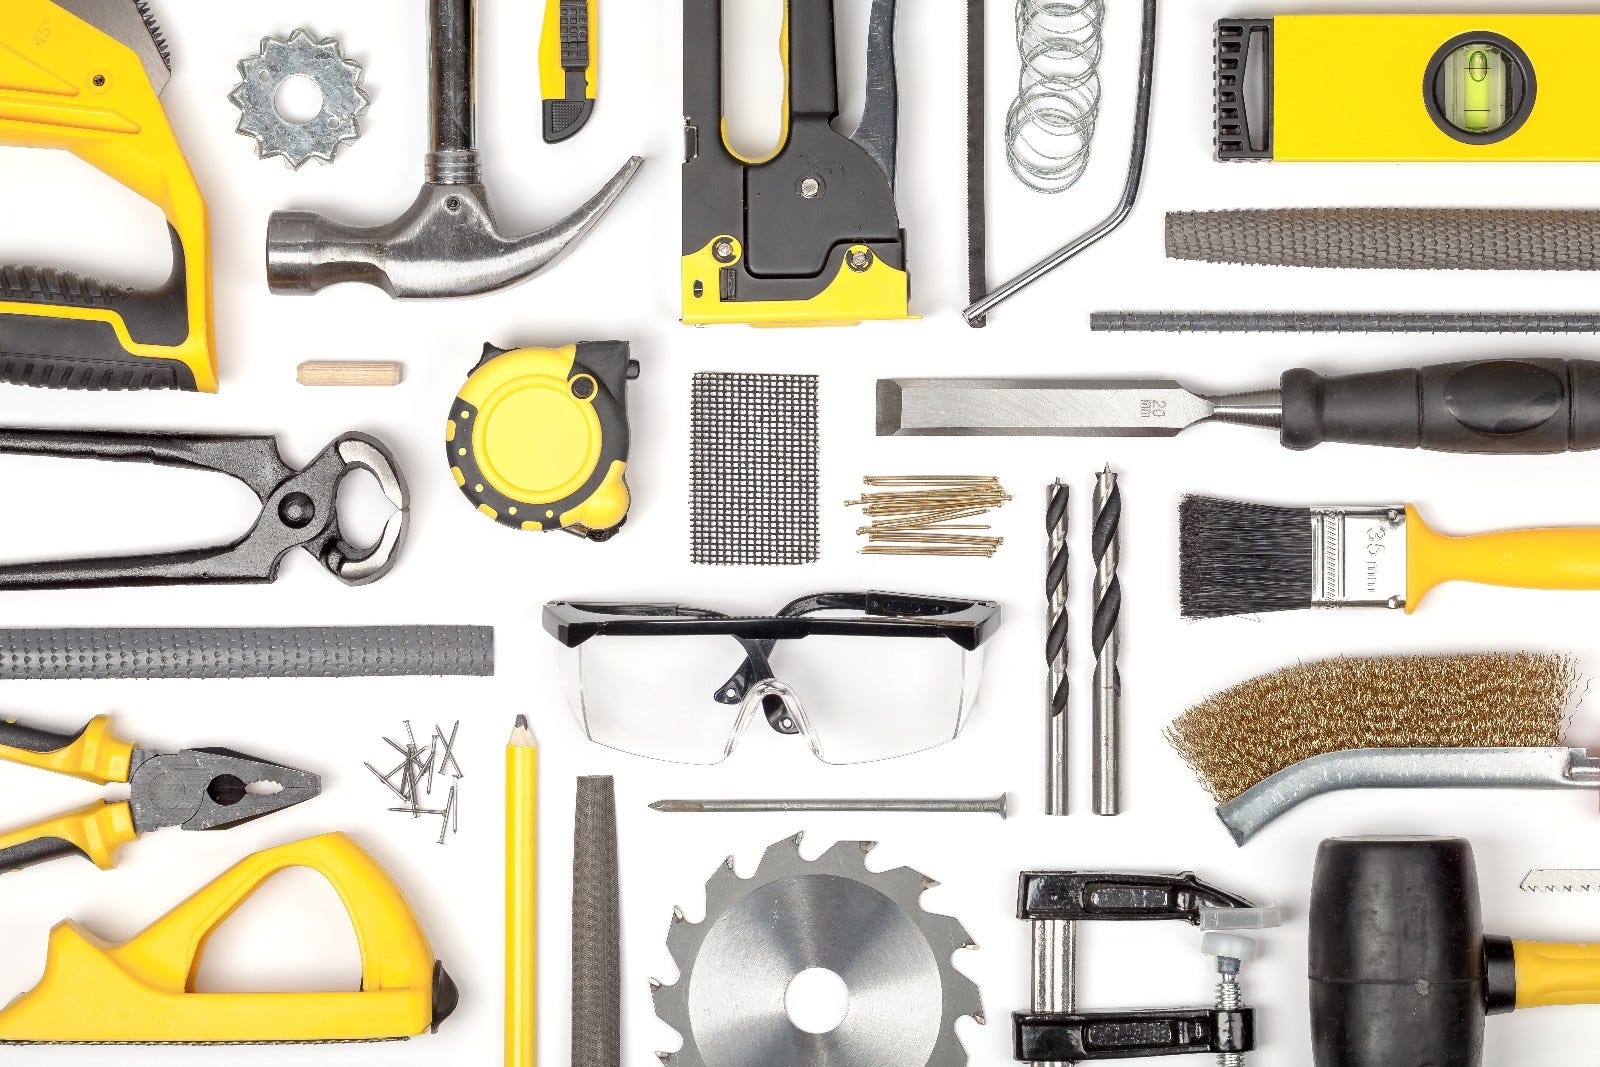
Tools
- Transit or builder’s level and rod
- Stakes, string, marking paint
- Hoses and water source
- Power source (generator or outlet) and extension cords
- Post hole diggers or auger (See heavy equipment. An auger is especially useful for larger playgrounds or tough soil conditions.)
- Wheelbarrows
- Utility knives
- Allen wrenches (hex key set)
- Adjustable wrenches
- Tape measures
- Rock bar
- Round point shovels, hoes, rakes
- 6’ Stepladder
- Bricks or blocks for the bottom of the ground holes
- Channel lock pliers
- Lumber for bracing steps, etc. during assembly
- Line up tool or drift pin
- Ratchet and socket set
- Rat tail file
- 3/8” Drive to 1/4” quick change socket
- Security tape or fencing
- Rubber hammer
- Tie-down straps or 6” quick grips
- 4’ Level
- Cordless drill and assorted size drill bits up to 17/32” or electric drill
- Extension cords
- Sledgehammer (for driving stakes if installing surfacing curbs)
- Bolt cutters (for chain adjustments if installing swings)
- Vise grip pliers
- S-hook pliers (if installing swing, chain net climbers, trapeze bars or rings)
- Tarps and rakes for moving and spreading loose fill surfaces. Volunteers can be asked to bring rakes and gloves for themselves and to share.
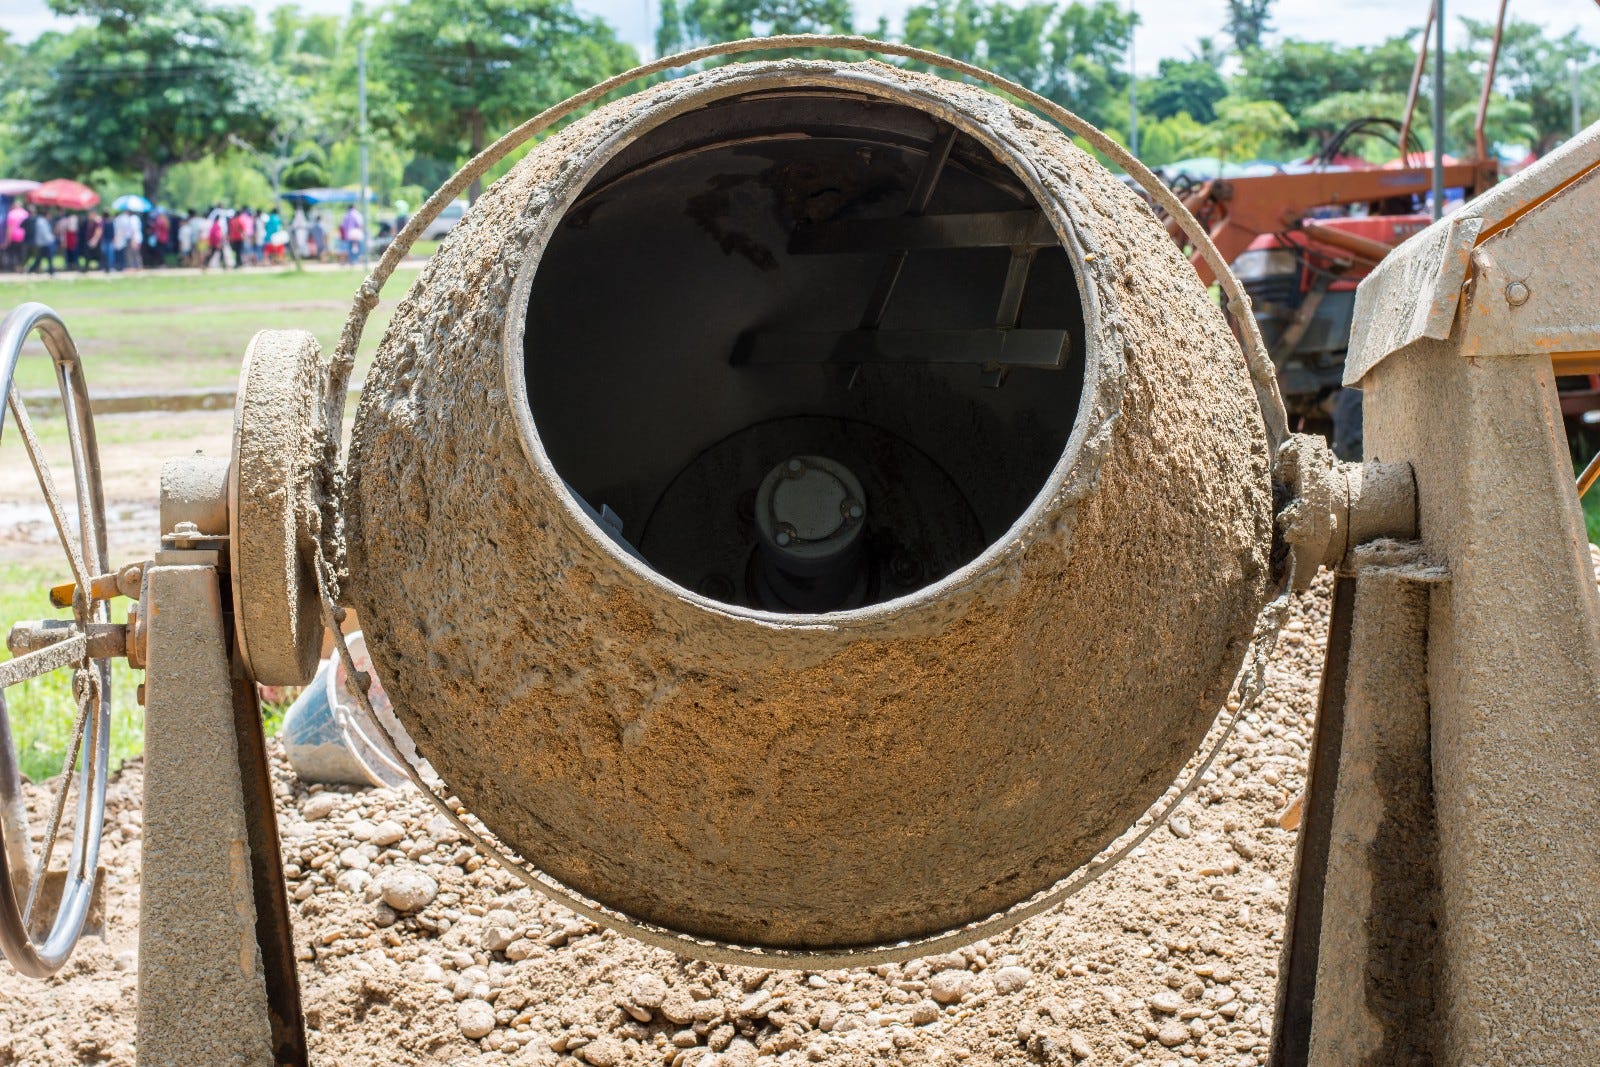
Heavy Equipment
- Forklift (For removing equipment from truck)
- Skid steer with 18” auger bit
- Concrete truck or mixer (for securing uprights into the ground at end of job)
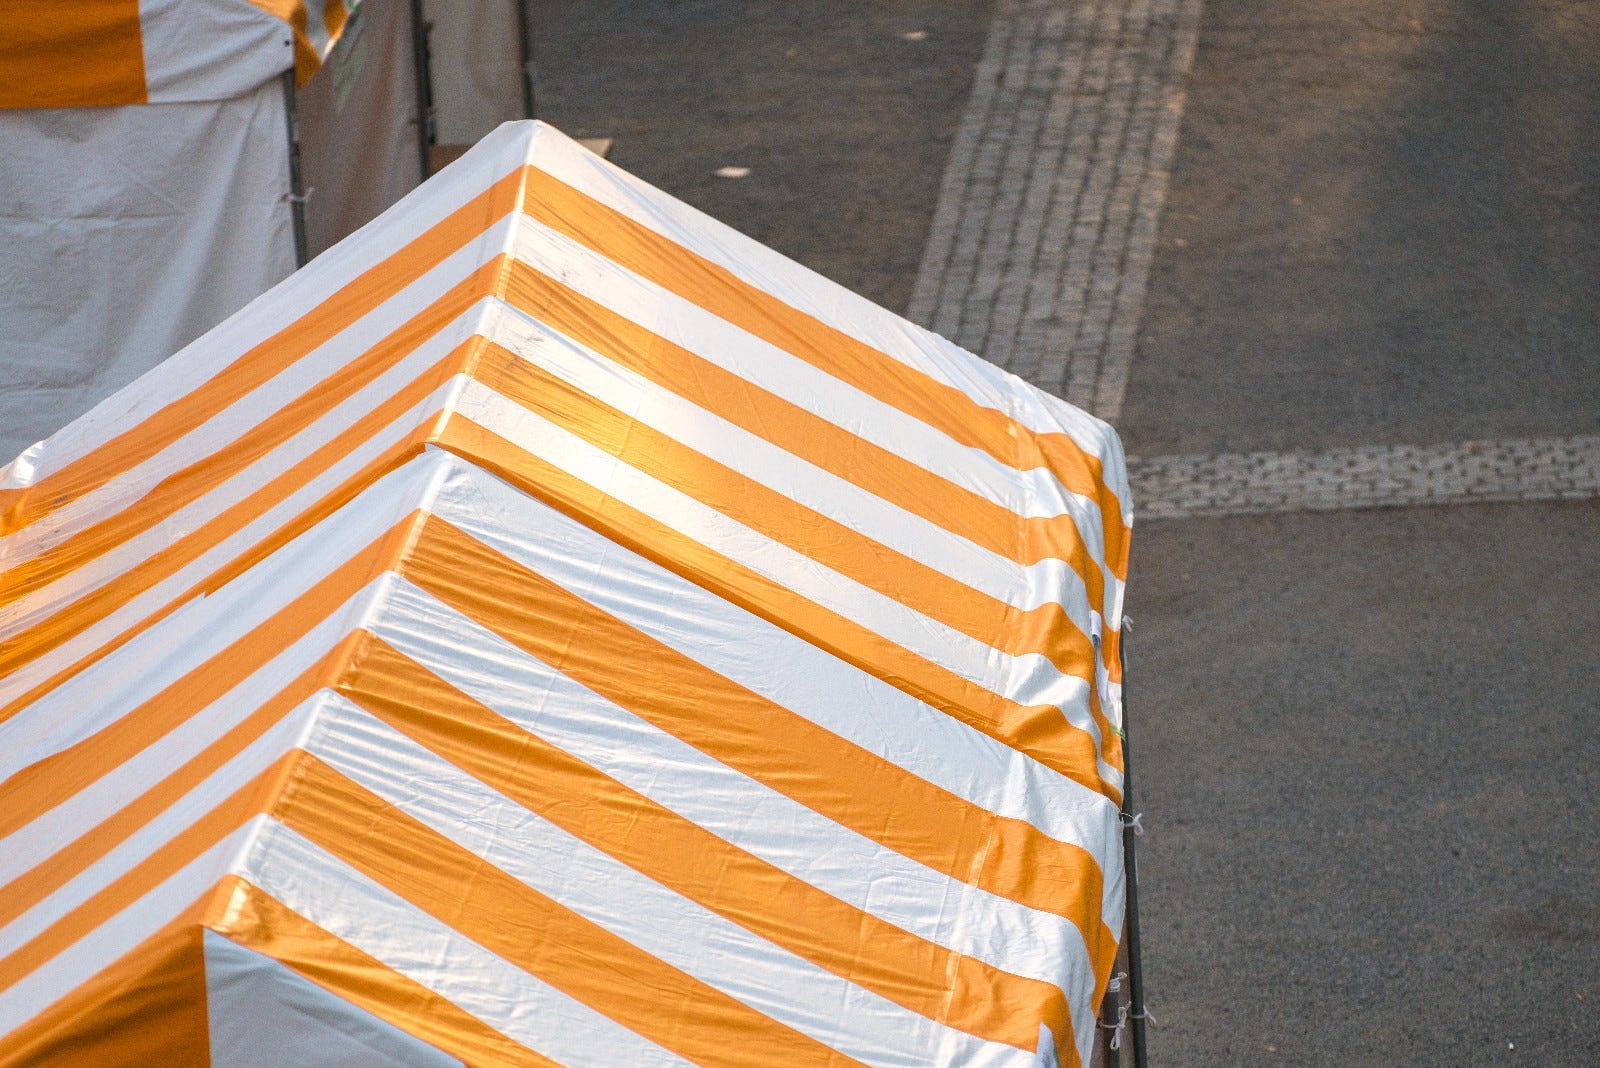
Other Event Supplies to Consider
- Registration table with necessary forms for sign-in, releases, etc.
- Nametags and pens
- Shade tents
- Folding chairs
- Banners or signs to thank volunteers and donors
- Camera
- Hydration (plenty of water)
- Ice chests and ice
- Energy snacks
- Meals
- Music
- Garbage bags
- Microphone or bullhorn for announcements
- Hand sanitizer
- First aid kit
- Broom
- Buckets, rags, and soap
- Labels to mark tools
- Caution tape
Once the site is prepped, there’s just a couple more to-do’s standing between you and that shiny new playground. Stay tuned for our next blog on organizing your equipment when it arrives and finally, the CONSTRUCTION!
This blog series is part of a larger series on planning, funding, designing, building and sustaining a playground project. The information in these blog posts comes from the outstanding Blueprint for Play series by PlayCore. Request a free copy today!